Administration
Jump to navigation
Jump to search
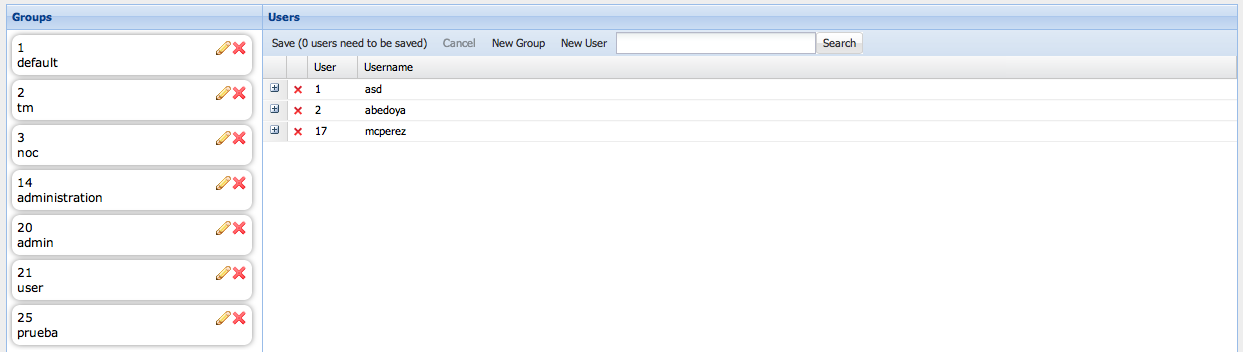
Figure 43. User Administration Window.
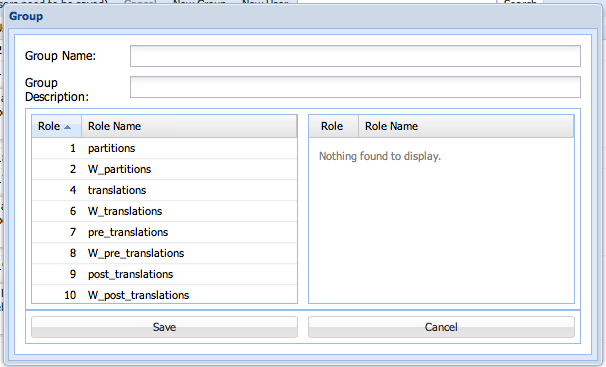
Figure 44. Group Creation Window.
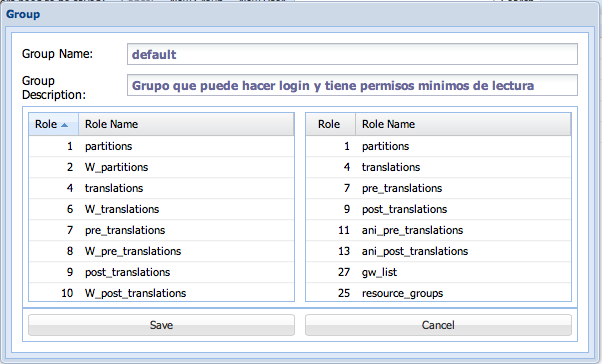
Figure 45. Group Edition Example.
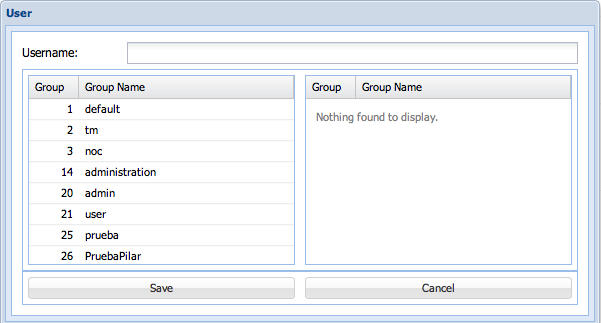
Figure 46. User Creation Window.
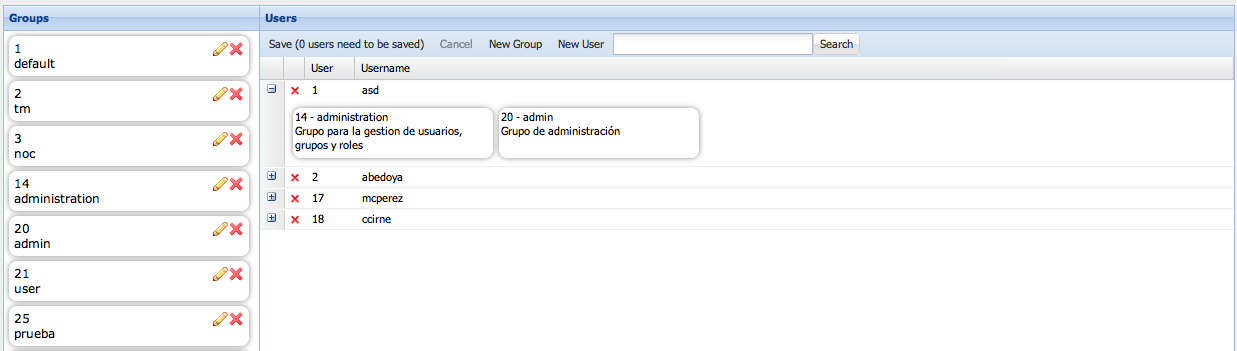
Figure 47. User Edition Window.
Click Here to return to the main Screen: Back
Users
This tab includes the creation and deletion of users, and the modification of user profiles.
Figure 43 shows an example of the Administration window.

What follows is a description of the fields of the window:
- Group
A Group includes a number of roles that define functions and access to certain features of the platform.
- Users
This part of the table lists the users and usernames currently active in the platform.
To create a new Group:
- Click on New Group. The following window will appear.

- Enter a new Group Name and the Group Description.
- Define the functionality of the group by dragging roles from the list to the left and dropping them on the right side.
- Click âSaveâ to confirm the creation or âCancelâ to discard it.
To edit a group:
- Click on the button
 of the group you want to edit. The following window will appear:

- Edit the list of roles for that group.
- Click âSaveâ to confirm the edition or âCancelâ to discard it.
To create a new user:
- Click on New User. The following window will appear:

- Enter the Username.
- Define the roles and restrictions by dragging Groups from the list to the left and dropping them on the right side.
- Click âSaveâ to confirm the edition or âCancelâ to discard it.
To delete a user, click on the x and confirm deletion of the row.
To edit a user:
- Click on
 to expand the user groups of roles (Figure 47).

- Drag groups from the list of groups and drop them under the user to add functionalities, or drag them from the userâs profile and drop them on the list of groups to disable them.
- Click on âSaveâ to confirm the changes.
Make use of the Search window to locate a user in the list.